Ever leave the salon with that impossibly bouncy, smooth, and voluminous hair, wondering if some kind of magic was involved? I get it. For years, I battled my own hair with a dryer, ending up with a frizzy, semi-straight mess instead of that polished finish. The secret isn’t magic; it’s a combination of the right tools and the right technique. If you’ve been searching for How To Do A Blowout At Home, you’ve landed in the right place. Forget limp, lifeless locks. We’re about to unlock the secrets to a salon-worthy blowout that you can actually achieve in your own bathroom. Ready to transform your hair game for good?
Why Your Hair Dryer is Your Most Important Tool
Before we even talk about technique, let’s get one thing straight: not all hair dryers are created equal. You can have the world’s best technique, but if you’re using a low-quality, outdated dryer, you’re fighting an uphill battle. A great hair dryer isn’t just about hot air; it’s a sophisticated piece of technology designed to protect your hair’s health while delivering incredible style.
Think of it like cooking. You can sear a steak in any old pan, but a high-quality cast-iron skillet will give you that perfect, even crust every time. Your hair dryer is your cast-iron skillet. It’s the foundation of a great result. Investing in a good one means faster drying times, less heat damage, and a smoother, shinier finish. This is where understanding the tech inside your dryer becomes a game-changer.
Decoding the Tech: Ionic, Ceramic, and Tourmaline Explained
Walking down the hair tool aisle can feel like you need an engineering degree. Let’s break down the buzzwords into simple terms so you know what you’re actually getting.
Ionic Technology: The Frizz-Fighter
- What it is: Ionic dryers emit negative ions. Don’t worry, it’s not as sci-fi as it sounds. Water on your hair carries a positive charge. The negative ions from the dryer break up these water molecules faster.
- The Real-World Benefit: This means your hair dries quicker with less direct heat. More importantly, these ions seal your hair’s cuticle (the outer layer), locking in moisture and eliminating frizz. If you battle frizz, an ionic dryer is your best friend. It’s the difference between a sleek finish and a halo of flyaways.
Ceramic and Tourmaline: The Gentle Guardians
- What they are: Ceramic is a material used to coat the internal components or the grille of the dryer. It heats up evenly and produces infrared heat, which is much gentler on the hair. Tourmaline is a semi-precious mineral that, when heated, naturally produces even more negative ions and infrared heat.
- The Real-World Benefit: A ceramic or tourmaline dryer provides consistent, gentle heat that penetrates the hair shaft from the inside out. This prevents “hot spots” that can scorch and damage your hair. You get a smooth, shiny result without frying your ends. Think of it as a cozy, enveloping warmth rather than a harsh, direct flame.
Bảng trống.“The biggest mistake I see clients make is using maximum heat without a nozzle. It’s like using a firehose to water a delicate plant. You’re blasting the hair cuticle open, which is the number one cause of frizz and damage.” – Celebrity Hairstylist, Olivia Chen.
The Ultimate Guide: How to Do a Blowout at Home Step-by-Step
Alright, you’ve got your high-tech dryer, and you’re ready to go. Let’s break down the process into simple, manageable steps.
Step 1: The Prep Work is Non-Negotiable
A great blowout starts in the shower.
- Wash and Condition: Use a shampoo and conditioner suited for your hair type. If you have fine hair, a volumizing formula is great. For thick or coarse hair, look for smoothing or moisturizing products.
- Towel Dry Gently: Please, step away from vigorously rubbing your hair with a rough towel. This roughs up the cuticle and creates frizz before you even start. Instead, gently squeeze and blot your hair with a microfiber towel or an old t-shirt. You want your hair to be about 60-70% dry before you even plug in the dryer.
- Apply Product: This is crucial. A heat protectant is not optional; it’s your hair’s insurance policy against damage. Apply it from roots to ends. After that, you can layer on other products like a volumizing mousse at the roots or a smoothing serum on the ends, depending on your hair’s needs.
Step 2: Section, Section, Section!
This is the step most people skip, and it’s the secret to a professional result. Trying to dry your entire head of hair at once is a recipe for disaster.
- Create Sections: Use clips to divide your hair into at least four manageable sections: two in the front, two in the back. If you have very thick hair, you might need six or eight sections.
- Work One Section at a Time: By focusing on one small section, you gain complete control, ensuring every strand is dried properly from root to tip.
Step 3: The Right Tools for the Job
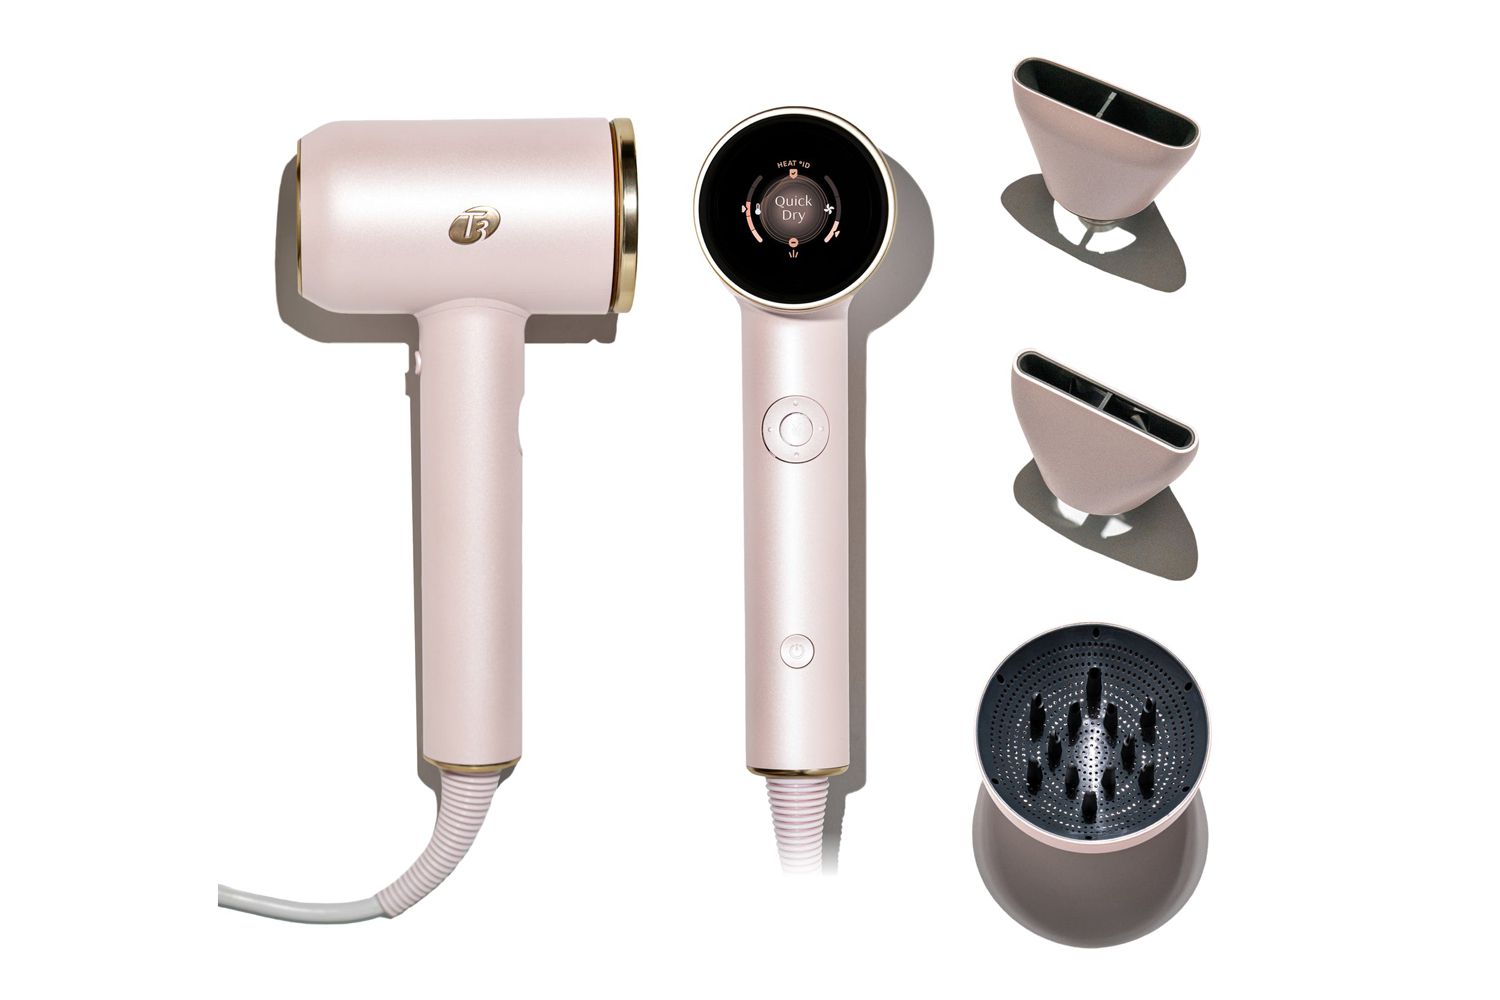
- Attach the Concentrator Nozzle: This attachment is your best friend for a smooth blowout. It directs the airflow precisely where you want it, helping to smooth the hair cuticle as you dry. Never attempt a blowout without it.
- Choose Your Brush: A round brush is key for creating volume and shape. The size matters:
- Small barrel: For short hair or tighter curls/waves.
- Medium barrel: Great for shoulder-length hair and creating body.
- Large barrel: Ideal for long hair and creating soft, bouncy waves.
Step 4: The Drying Technique
Now for the main event. Work with one section at a time, keeping the others clipped away.
- Start at the Roots: Place the round brush at the root of the section. Aim the hair dryer (with the nozzle attached) downwards along the hair shaft. This is critical for sealing the cuticle and creating shine.
- Maintain Tension: As you pull the brush through the section of hair, follow it closely with the dryer. The tension you create with the brush is what helps to straighten and smooth the hair.
- Dry Completely: Make sure each section is 100% dry before you move on. Dampness is the enemy of a long-lasting blowout.
- Focus on the Ends: As you reach the ends of your hair, slightly roll the brush inwards or outwards to create a nice, finished shape.
- Repeat: Continue this process for all sections of your hair. The front sections are usually the most visible, so take your time there.
Step 5: Lock It In with the Cool Shot
Ever wonder what that little blue button is for? It’s your secret weapon for longevity.
- Blast of Cold Air: Once a section is fully dry and still warm on the brush, press and hold the cool shot button for 5-10 seconds.
- Set the Style: This blast of cool air rapidly cools the hair, “setting” the shape you just created. It closes the hair cuticle one final time, locking in shine and ensuring your style lasts all day.
Common Blowout Mistakes to Avoid
- Drying Soaking Wet Hair: This takes forever and exposes your hair to way too much heat. Always towel-dry first.
- Holding the Dryer Too Close: Keep the dryer at least 6 inches away from your hair to prevent scorching.
- Using the Wrong Heat Setting: Fine hair doesn’t need high heat. Use medium heat and high speed. Thick or coarse hair can handle higher heat, but always start lower and work your way up.
- Forgetting the Nozzle: We’ve said it before, but it’s worth repeating. The concentrator nozzle is essential for a smooth, controlled finish.
Frequently Asked Questions (FAQ)
What’s the best hair dryer setting for a blowout?
For most hair types, the ideal setting is medium heat and high airflow. This combination dries the hair efficiently without causing excessive heat damage. If you have very thick or coarse hair, you might use high heat, but do so carefully and always use a heat protectant.
How do I get more volume with my blowout?
Focus on the roots! When drying the top sections of your hair, lift the hair straight up from the root with your round brush. Aim the airflow at the roots to create lift. A volumizing mousse applied before you start drying will also make a huge difference.
Can I do a blowout on curly hair?
Absolutely! The key is to create enough tension with your brush. Work in smaller sections and make sure you’re pulling the brush taut as you follow with the dryer. A tourmaline or ionic dryer will be especially helpful in fighting the frizz that curly hair is prone to.
How often can I do a blowout at home without damaging my hair?
With the right tools and a quality heat protectant, you can safely perform a blowout 2-3 times a week. The key is to listen to your hair. If it starts to feel dry or brittle, give it a break with some air-drying days and a deep conditioning treatment.
Why does my blowout get frizzy so quickly?
This is usually caused by one of two things: the hair wasn’t 100% dry, or you didn’t seal the cuticle. Make sure every section is completely dry before you stop, and always aim the dryer’s nozzle down the hair shaft, from root to tip. Finishing with the cool shot button is also a must to lock out humidity.
Your Perfect Blowout Awaits
Mastering how to do a blowout at home is a skill that empowers you to have a great hair day, every day. It’s not about having perfect, professional-level skills overnight. It’s about understanding the “why” behind the technique—why you section your hair, why you use a nozzle, and why the technology in your dryer matters. By investing in a quality hair dryer and practicing these simple steps, you’re not just styling your hair; you’re caring for its health and unlocking its true potential. Now go grab your tools and get ready to create that beautiful, bouncy, salon-fresh look you deserve.