Tired of hair that just… hangs there? We’ve all been there. You spend time washing, conditioning, and treating your locks, only for them to dry flat and lifeless. But what if I told you that the secret to that bouncy, polished, salon-fresh look is already sitting on your bathroom counter? Learning How To Flip Hair Ends With A Blow Dryer is a total game-changer, turning a simple blowout into a styled, dynamic look that exudes confidence. It’s that little flick at the bottom that adds movement, shape, and a touch of retro glam. Forget complicated tools and techniques; with the right dryer and a little know-how, you can master this style in no time.
Why Your Blow Dryer Choice is Crucial for Hair Health
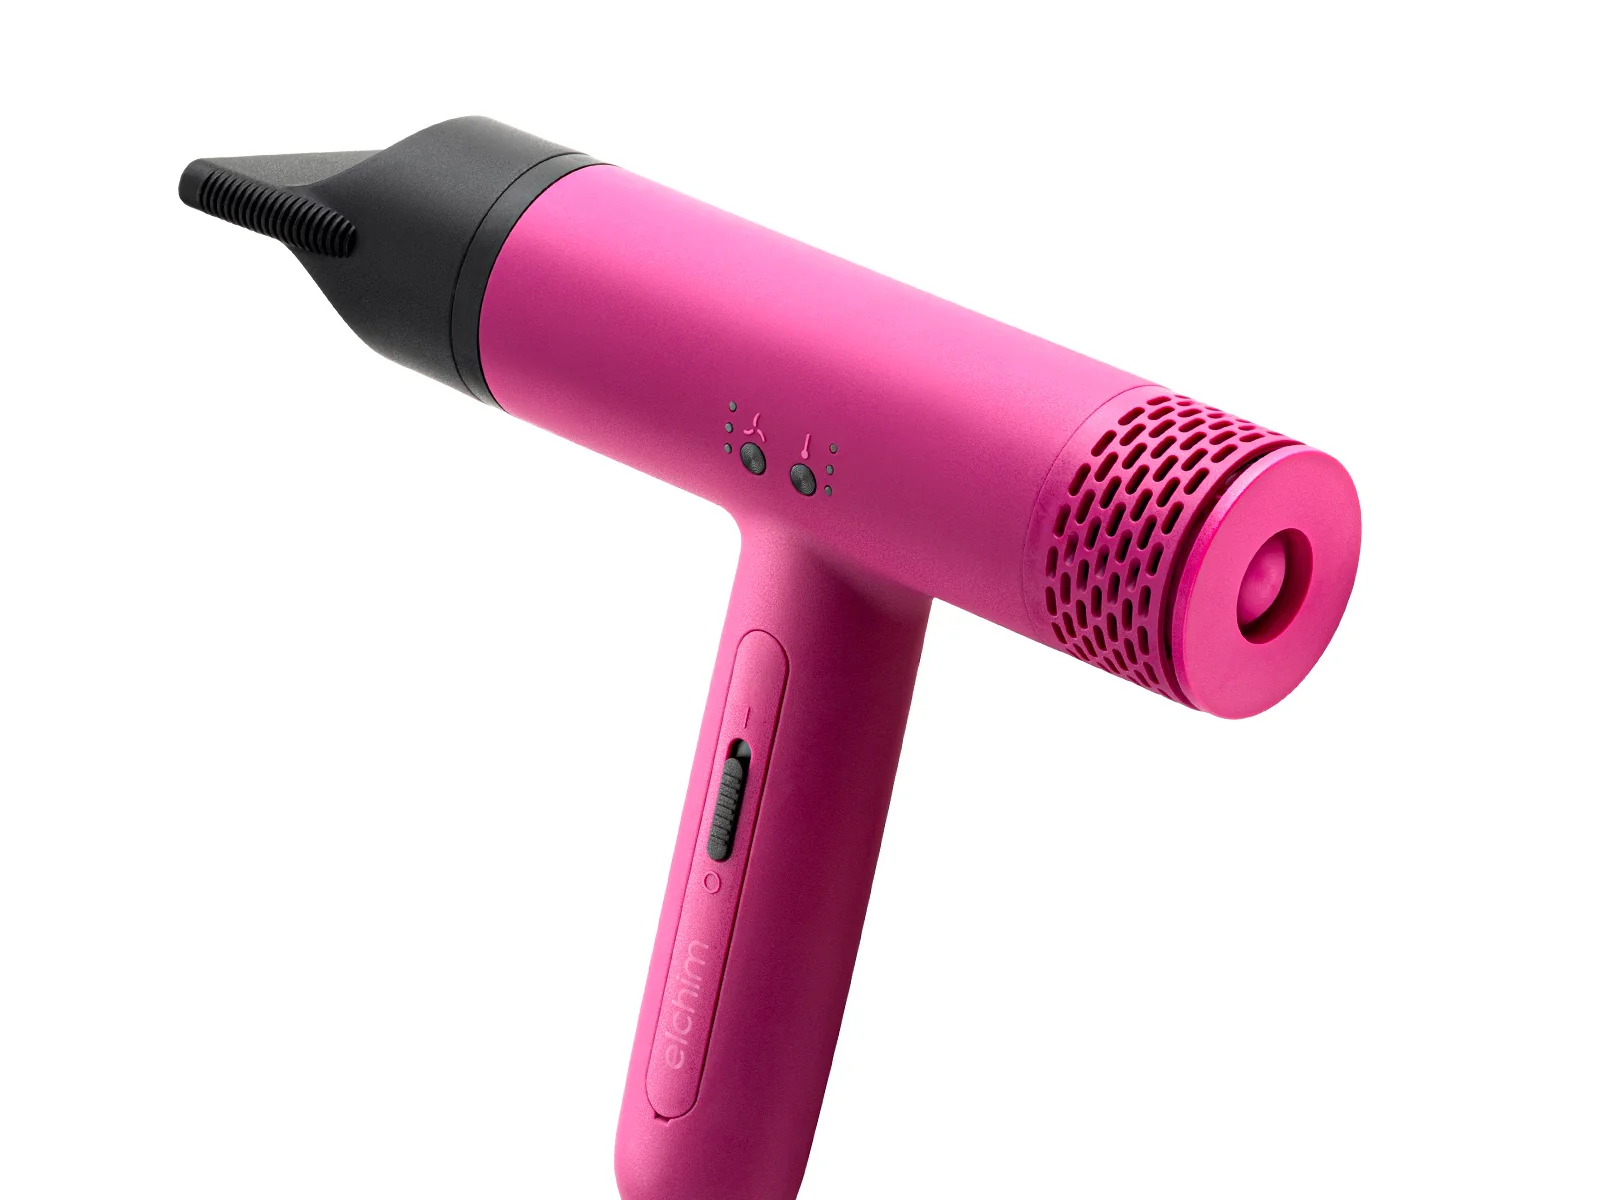
Before we even get to the “how,” we need to talk about the “what.” Your blow dryer isn’t just a tool for blasting your hair with hot air; it’s a sophisticated piece of technology that can either make or break the health of your hair. Think of it like cooking: you wouldn’t try to sear a steak in a microwave, right? The same principle applies here. Using a cheap, outdated dryer can lead to uneven heating, hot spots, and ultimately, heat damage—the arch-nemesis of smooth, healthy hair.
A high-quality hair dryer, on the other hand, is engineered to protect your strands while delivering fast, effective results. It’s an investment in your hair’s future.
Unpacking the Tech: What Really Matters?
Walking down the hair tool aisle can feel overwhelming. “Ionic,” “Ceramic,” “Tourmaline”—what do these buzzwords actually mean for your hair? Let’s break it down in simple terms.
- Ionic Technology: This is your frizz-fighting superhero. Ionic dryers release negative ions that interact with the positive ions in water droplets on your hair. This process breaks up the water molecules faster, which means less drying time (and less heat exposure!). More importantly, it helps to seal the hair’s cuticle, locking in moisture and leaving you with a smoother, shinier finish. If you’re constantly battling frizz, an ionic dryer is a must-have.
- Ceramic and Tourmaline Technology: Think of these as the gentle giants of heat. Ceramic components ensure that the heat produced by the dryer is even and consistent, eliminating those damaging hot spots. It’s a far-infrared heat that penetrates the hair shaft from the inside out, drying it gently without stripping its natural moisture. Tourmaline, a semi-precious mineral, is often crushed and infused into the ceramic parts. It boosts the negative ion output and makes the heat even gentler. The result? A silky-smooth blowout with minimal risk of damage.
The Step-by-Step Playbook: How to Flip Hair Ends With a Blow Dryer
Alright, you’ve got your prep work done and your trusty dryer in hand. Now for the fun part. This technique is all about control, tension, and a little bit of wrist action.
- Prep and Section Your Hair: Never start on sopping wet hair. Gently towel-dry or let your hair air-dry until it’s about 80% dry. This cuts down on heat exposure significantly. Apply a high-quality heat protectant from mid-lengths to ends. Then, using clips, section your hair into manageable parts. I recommend at least four sections: two in the front, two in the back. Working in smaller sections gives you much more control.
- Attach the Concentrator Nozzle: This is non-negotiable! The concentrator nozzle focuses the airflow exactly where you want it. Trying to style without it is like trying to paint a detailed picture with a giant roller—it’s messy and ineffective.
- Grab Your Round Brush: Take a one-to-two-inch section of hair. Place your round brush underneath the section at the root. The size of your brush matters: a smaller barrel will create a tighter flip, while a larger barrel will give you a soft, bouncy curve.
- The Technique: Tension and Turn: This is the magic moment.
- Point the blow dryer (with the nozzle on) downwards, following the brush as you pull it slowly through the hair from root to mid-length. This smooths the cuticle and creates shine.
- As you approach the ends, continue pulling the brush through, but start to turn your wrist and the brush outwards and upwards. You are literally rolling the ends of your hair around the brush in an upward curve.
- Keep the airflow from the dryer aimed directly at the hair on the brush as you do this. The combination of heat and the shape of the brush is what creates the flip.
- Lock It In with the Cool Shot: Once the section is dry and perfectly flipped, don’t just release it! Hit it with a blast of cool air from your dryer’s “cool shot” button for 5-10 seconds.
“The cool shot is the most underutilized feature on a blow dryer,” says renowned stylist Julian Vance. “Heat shapes the hair, but cool air sets the style. Skipping this step is like taking a cake out of the oven and immediately trying to frost it. You need to let it set, or it will all fall apart.”
- Release and Repeat: Gently unwind the hair from the brush. You should see a perfect, bouncy flip. Move on to the next section and repeat the process until your whole head is done. Finish with a light mist of hairspray if needed.
Common Mistakes That Sabotage Your Flip
If you’re struggling to get the look right, you might be falling into one of these common traps.
- Using Too Much Heat: Cranking the heat to the maximum setting is a fast track to fried ends. For most hair types, a medium heat setting is plenty.
- Holding the Dryer Too Close: You want to keep the nozzle at least a few inches away from your hair. Holding it right up against the brush can scorch your strands.
- Wrong Brush Size: If you have short or fine hair and you’re using a giant barrel brush, you won’t be able to get enough tension to create the flip. Conversely, using a tiny brush on very long, thick hair will just create tangles.
- Forgetting to Prep: Skipping heat protectant is a cardinal sin of hair styling. It’s your hair’s only line of defense against the heat.
Which Blow Dryer Features Are Best for This Style?
When you’re looking for the perfect dryer to help you master how to flip hair ends with a blow dryer, keep an eye out for these key features:
- Multiple Heat and Speed Settings: This gives you the control to tailor the blowout to your hair type.
- A True Cool Shot Button: Make sure it’s a button that delivers genuinely cold air, not just lukewarm air.
- A Concentrator Nozzle: As we discussed, this is essential for precision styling.
- Lightweight Design: Your arm will thank you during longer styling sessions.
Frequently Asked Questions
Q: Why won’t my hair hold the flipped-out style?
A: This is usually due to one of two things: your hair was still slightly damp when you finished, or you skipped the cool shot. Make sure each section is 100% dry before you release it from the brush, and always use that blast of cold air to lock the shape in place.
Q: What is the best size round brush for creating flipped ends?
A: For short to medium-length hair, a 1.5 to 2-inch barrel brush is ideal. For long hair, you can go up to a 2.5 or 3-inch barrel for a softer, more sweeping flip. Ceramic or boar bristle brushes are excellent choices as they provide great tension and shine.
Q: Can I get this look on naturally curly or wavy hair?
A: Absolutely! The key is to create enough tension with the brush to smooth the hair shaft first. Work in smaller sections and go slowly, pulling the brush taut from root to tip. The flip at the end will be the final touch on your sleek blowout.
Q: How do I prevent my hair from getting frizzy during the process?
A: An ionic hair dryer is your best friend here. Also, always point the dryer’s nozzle down the hair shaft, from root to tip. This helps the hair cuticle lie flat, which is the secret to a smooth, frizz-free finish.
The Final Takeaway
Mastering how to flip hair ends with a blow dryer is more than just learning a new hairstyle; it’s about understanding how to use your tools to work with your hair, not against it. By choosing a dryer with the right technology, prepping your hair properly, and practicing the round brush technique, you can unlock a world of styling possibilities right at home. It’s proof that with the right knowledge, you don’t need a team of stylists to have a great hair day, every day. So go ahead, grab your dryer, and give your ends the fabulous flip they deserve.