Ever left the salon with that incredible, bouncy, perfectly smooth blowout and thought, “Why can’t I ever make my hair look this good at home?” You have the fancy hair dryer, the expensive products, and the round brush, yet you’re left with a slightly frizzy, semi-straight version of your stylist’s masterpiece. What’s the missing piece of the puzzle? Let me let you in on a little industry secret: it’s probably not what you think. While a great hair dryer is non-negotiable, the unsung hero of the perfect blowout is a humble, often-overlooked tool. So, What Are Styling Clips For? They’re for sectioning your hair, and mastering this simple technique is the single biggest game-changer for achieving salon-quality results right in your own bathroom.
Frustrated with your at-home styling attempts? You’re not alone. For years, I battled the halo of frizz and the stubbornly damp under-layers of my own thick hair, blasting it with heat until it surrendered. It wasn’t until I truly understood the power of control that everything changed. These clips are about to become your new best friend, turning a chaotic styling session into a controlled, professional process. Let’s dive in.
The Power of a Good Divide: Why Sectioning is a Non-Negotiable
At its core, the primary answer to “what are styling clips for?” is sectioning. But what does that really mean, and why does it matter so much?
Imagine trying to paint an entire wall with one giant, sweeping stroke. You’d get uneven coverage, drips, and missed spots. It would be a mess. Styling your hair is the same. When you try to dry your entire head of hair at once, you’re creating a chaotic environment. The top layer gets blasted with heat and becomes over-dried and damaged, while the layers underneath remain damp. This is a recipe for frizz and a style that collapses in an hour.
Styling clips allow you to divide and conquer. By sectioning your hair into manageable parts, you gain complete control.
- Even Drying: You can focus the airflow from your hair dryer on one small section at a time, ensuring every strand goes from wet to dry evenly. No more surprise damp patches!
- Reduced Heat Damage: Because you’re working efficiently, you can often use a lower heat setting. You’re not repeatedly blasting the same outer sections while trying to reach the inner ones. This is a major win for your hair’s long-term health.
- Superior Smoothness and Shine: When you focus on one section with a round brush and a concentrator nozzle, you can properly smooth the hair cuticle. A smooth, flat cuticle reflects light, which is what gives you that incredible, glossy salon shine.
- Better Volume and Shape: Sectioning allows you to lift and dry the roots properly, building a solid foundation for volume that lasts all day.
“The most common mistake I see clients make at home is trying to tackle their whole head of hair at once,” says renowned stylist Juliana Reed. “They’re essentially just ‘rough drying’ it into a frizzy shape. Sectioning with proper clips isn’t an ‘extra step’ for professionals; it is the step that creates the professional result.”
Picking Your Partner: Which Styling Clips Are Best?
Now that you’re sold on the ‘why’, let’s talk about the ‘what’. Not all clips are created equal. Those cute butterfly clips from the 90s aren’t going to cut it here. You need tools designed for the job.
Bảng trống.Duckbill Clips
These are long, thin, and sleek, resembling a duck’s bill. They are fantastic for fine to medium hair or for creating very precise sections. Their strong grip is perfect for holding back smaller, detailed areas, especially around the hairline when you’re perfecting your style.
Alligator or Crocodile Clips
These are the workhorses of the styling world. They typically have a hinged design that allows them to hold a much larger and thicker section of hair securely. If you have thick, coarse, or very long hair, these are your go-to. Look for ones with a rubberized or silicone edge to prevent them from leaving creases or dents in your hair.
Your Step-by-Step Guide to a Flawless At-Home Blowout
Ready to put this all into practice? Let’s walk through the process. The right tools and the right technique are your power couple for amazing hair.
Step 1: Prep Your Canvas
Never, ever apply high heat to your hair without protection. Start with freshly washed, towel-dried hair. Gently squeeze, don’t rub, the moisture out with a microfiber towel. Then, apply a quality heat protectant spray from roots to ends. This is your insurance policy against damage.
Step 2: The Right Technology is Key
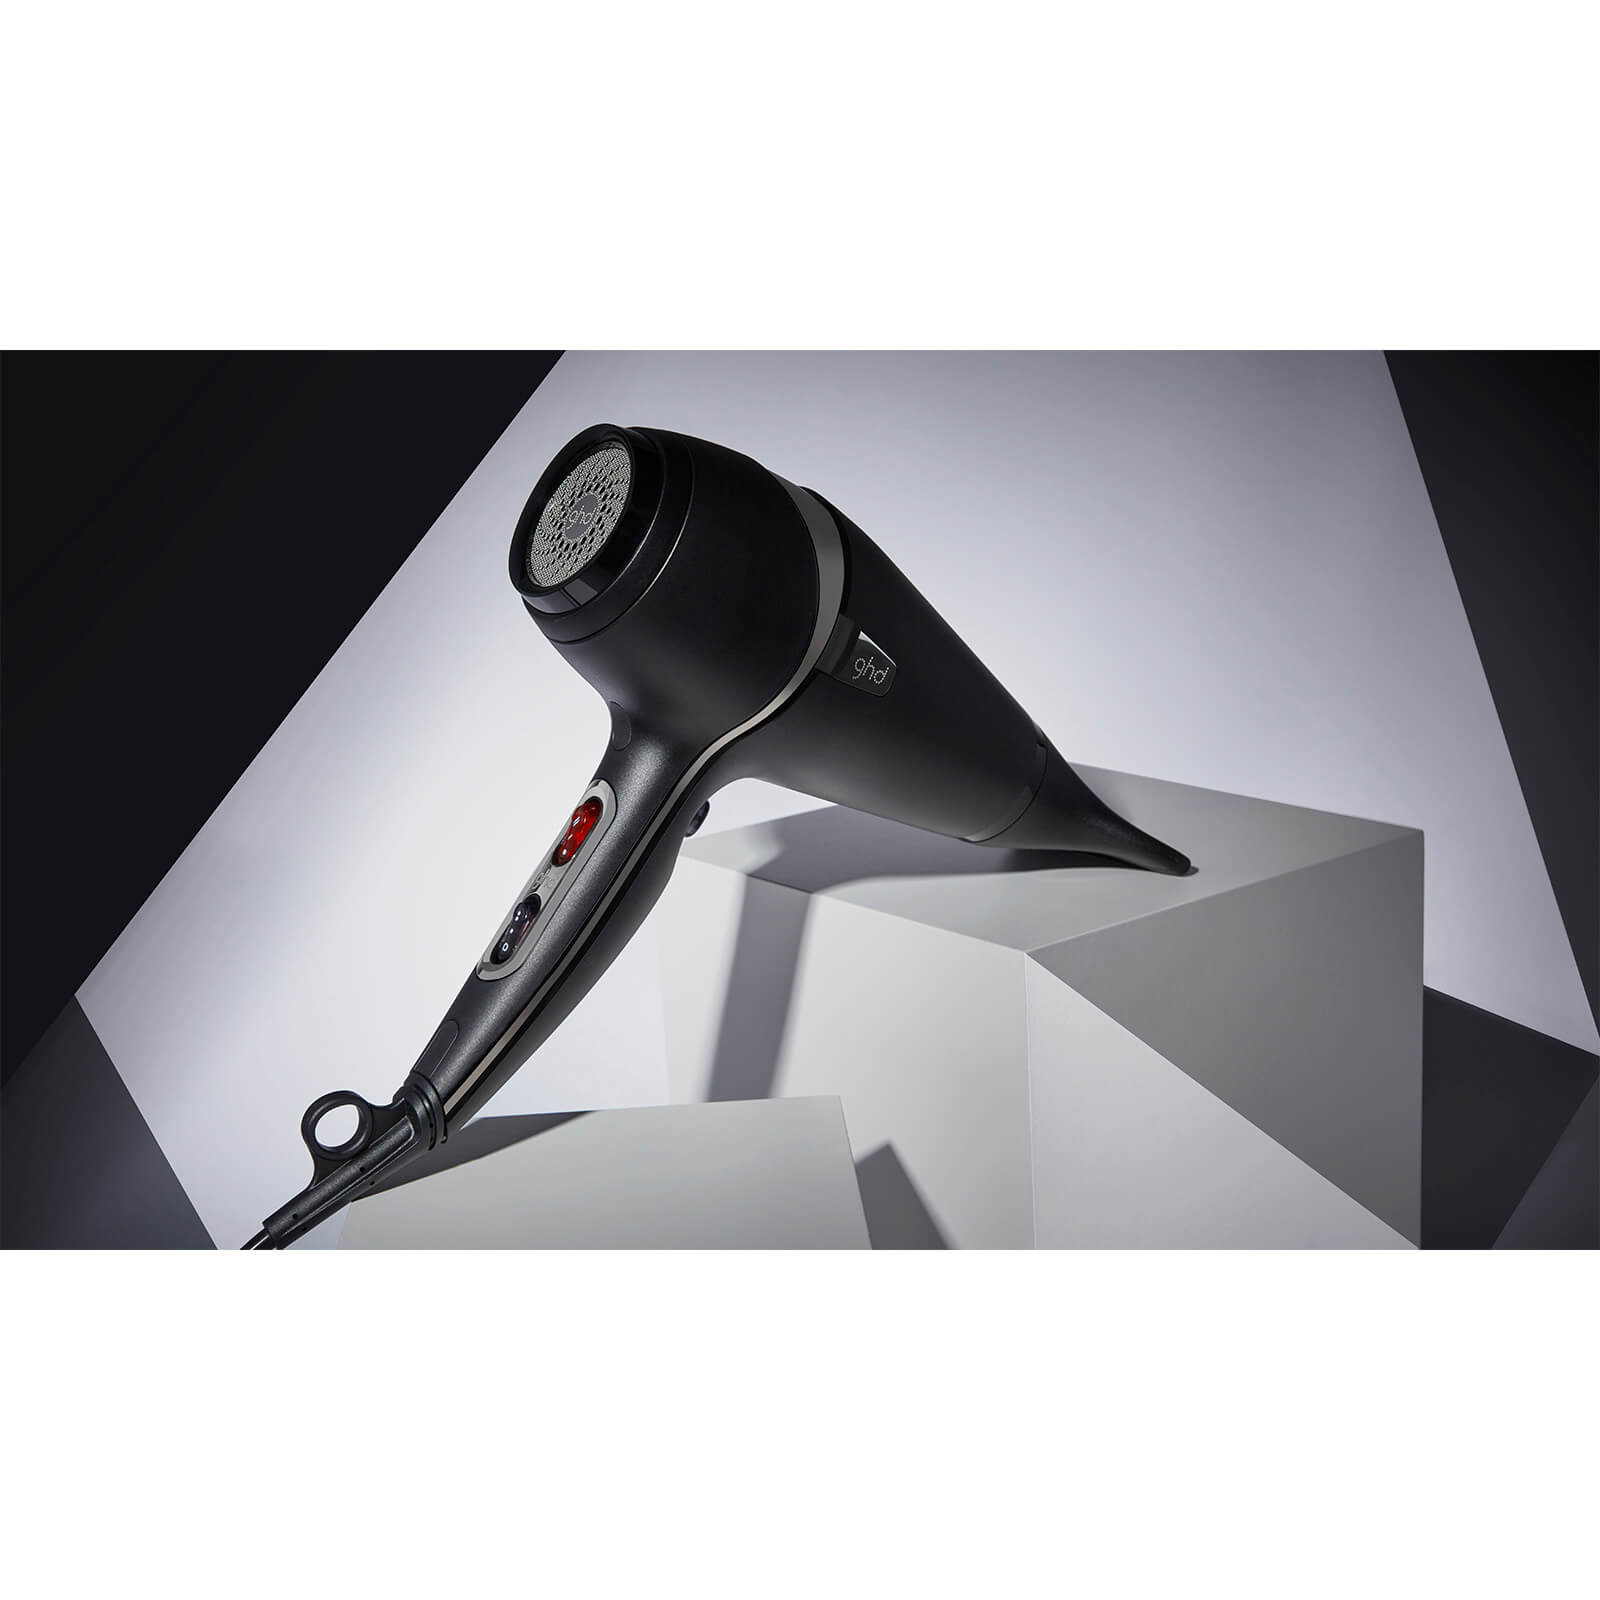
Your hair dryer is your power tool. A cheap, outdated model can scorch your hair with uneven, scorching heat. A modern, technologically advanced dryer is an investment in your hair’s health. Here’s what matters:
- Ionic Technology: Think of these dryers as frizz-fighters. They emit negative ions that attach to the positive ions in water droplets on your hair. This breaks up the water faster, meaning less drying time and less heat exposure. More importantly, it helps to seal the hair cuticle, locking in moisture and creating a smoother, shinier finish. It’s like a tiny army of conditioners flying out of your dryer.
- Ceramic & Tourmaline: These materials are used to coat the internal components and grilles of high-quality dryers. They provide a much gentler, more even infrared heat. Instead of just heating the air around your hair, it heats the hair from the inside out. This is far less damaging and, again, speeds up drying time.
- The Concentrator Nozzle: This attachment is not optional! It focuses the airflow into a precise stream, giving you the control needed to smooth each section with your brush. Using a dryer without it is like trying to water a single plant with a fire hose.
Step 3: Let’s Get Sectioning!
This is where your styling clips shine. How you section depends on your hair’s thickness. A good starting point for most people is the “four-quadrant” method:
- Create a part down the middle of your head, from your forehead to the nape of your neck.
- Create a second part from ear to ear, over the top of your head.
- You should now have four main sections. Use your alligator clips to securely twist and clip up three of them, leaving one of the bottom sections down to work on first.
Step 4: Dry with Purpose
Take a 1-2 inch subsection from the hair you left down. Place your round brush at the root and aim the concentrator nozzle down the hair shaft, following the brush as you pull it through to the ends. This downward motion is crucial for smoothing the cuticle. Keep the dryer moving constantly.
Step 5: Lock It In with the Cool Shot
Once a section is completely dry, press the “cool shot” button on your dryer and go over the section one last time. The blast of cold air rapidly cools the hair, which “sets” the style, locking in the smoothness and volume you just created. It’s the secret to a long-lasting blowout.
Step 6: Release, Repeat, and Reveal
Unclip the next section and repeat the process until your entire head is dry. For the top sections, focus on lifting the roots straight up as you dry to create maximum volume. Once you’re done, gently run your fingers through your hair to blend the sections, and admire your ridiculously shiny, bouncy, salon-worthy hair.
Common Mistakes to Avoid
Understanding what are styling clips for helps you avoid the most common styling pitfalls.
- The “All-at-Once” Method: The biggest mistake. Solution: Sectioning!
- The “Soaking Wet Start”: Styling sopping wet hair takes forever and requires way too much heat. Solution: Let your hair air-dry or rough-dry it (without a nozzle) until it’s about 80% dry before you start sectioning and styling.
- Forgetting the Nozzle: This leads to a whirlwind of air that just creates frizz and flyaways. Solution: Always use your concentrator nozzle for smooth styles.
Frequently Asked Questions
How many styling clips do I need for my hair?
For most people, 4 to 6 high-quality alligator clips are plenty. If you have extremely thick or long hair, you might find 8 useful to create smaller, more manageable subsections.
Will styling clips leave a dent in my hair?
Professional-grade clips are designed to minimize this. Look for clips that don’t have teeth on the top part or that have a silicone band. Avoid clipping them onto hair that is already partially dry and styled, as that’s when dents are more likely to form.
Can I use styling clips for things other than blow-drying?
Absolutely! They are incredibly versatile. Use them to hold back sections while using a curling iron or flat iron, to pin up curls while they cool and set, or simply to keep your hair out of your face while applying makeup.
What’s the real difference between a cheap hair dryer and an expensive one?
The difference lies in the technology, motor power, and materials. An expensive dryer with ionic and ceramic/tourmaline technology will dry your hair faster and with far less damage, resulting in healthier, shinier hair over time. It’s an investment that pays off.
Is the cool shot button really that important?
Yes, 100%. It’s the final, crucial step. Hair is malleable when it’s hot and sets when it’s cool. Skipping the cool shot is like baking a cake and taking it out of the pan before it has had a chance to set. Your style will simply not last as long.
Your Secret Weapon is Revealed
So, the next time you ask, “what are styling clips for?” you’ll know the answer is “everything.” They are the key to control, the guardians against heat damage, and the secret to unlocking that elusive, professional-looking blowout at home. By pairing this simple technique with a technologically advanced hair dryer that protects your hair’s health, you’re not just styling your hair; you’re elevating your entire routine. It’s time to stop fighting with your hair and start working with it. Grab some clips, and get ready to be amazed at what you can achieve.